In this article i will describe how to set path for java beginners step by step. Though it seems complicated for first timer its not actually that complicated stuff. To install java on your system you need to download couple of files listed in the steps listed below.
Step 1
Java JRE Installation
- Download a JRE executable file from the Java Library at Oracle Click here.
- Double click on this file
- After the installer finishes loading, read and accept the license agreement. For most people the typical install will be fine.
- The JRE installer will do the rest.
- When the installer is finished, click Finish. That is it, JRE is now installed.
Step 2
Java JDK Installation
- Download a JDK executable file from the Java Library at Oracle Click here.
- Double click on this file and follow the same steps from 3 to 5 in Step 1.
Step 3
Java Path Settings
- Search “System Environment Variables” in windows search.

- Now, In System Variable click on NEW button.
- Enter Variable name JAVA_HOME
- In Variable value copy paste the path directory upto the JDK directory installed in your system.
- Example: “C:\Program Files\Java\jdk1.7.0_09“
- Next select Path variable, Click on Edit.
- Enter “%JAVA_HOME%\bin;”
- Now, Press OK and follow step 4
Step 4
Java Installation Check
- Open command prompt in windows.
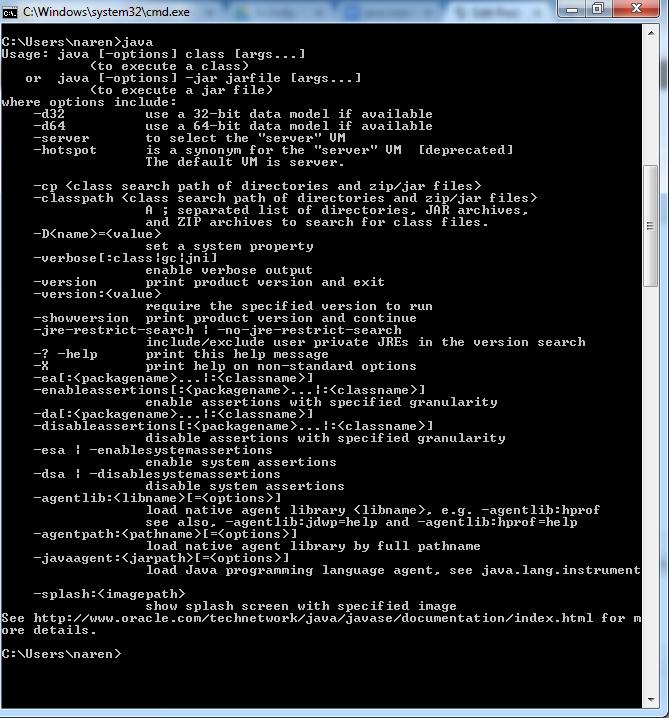
- Type in Java and press enter.
- It should show the Java usage and options.(The cmd output should be similar to that of image Below)
- Next type in Javac and press enter.
- Again Similar to Step 3.
- It should show the Java usage and options.(The cmd output should be similar to that of image Below)
- If the output isnt similar you need to set the path settings.
That is it Your done with java installation and path settings.


Leave a Comment